Free Image to STL Converter — PNG & JPG to 3D Relief
Turn Any Picture into a 3D-Printable Relief
Upload a PNG or JPG and every pixel becomes a height. Logos, drawings, signatures and photos turn into a solid relief with a flat base, ready to export as an STL file and print — free, in your browser, with no signup.
Logos & icons
The Extrude style traces your logo into clean shapes with smooth, straight walls, and the Color style keeps every colour as its own part for multi-colour printing (3MF). A dark logo on a white background becomes crisp raised lettering. Use the cut-out option on a transparent PNG to trim the print to the logo’s outline — great for badges, fridge magnets and wall signs.
Photos, pets & portraits
The AI 3D style works out the real shape of a face or a pet — rounded head, nose, ears — and turns the photo into a carved-looking relief with a quiet, flat background.
Drawings & text
Hand-drawn art, children’s drawings, signatures and stamps convert cleanly. Add your own raised or engraved caption below or above the picture.
One logo, two styles
rendered in this tool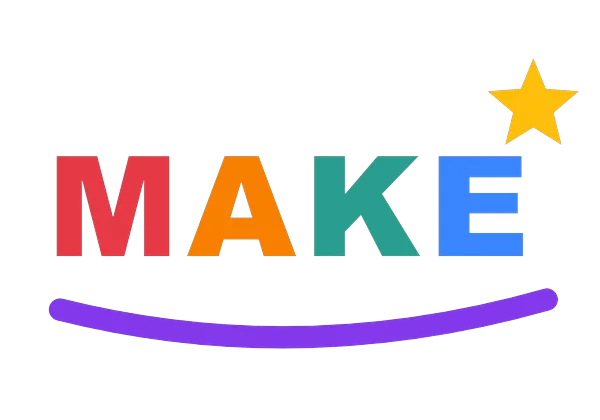
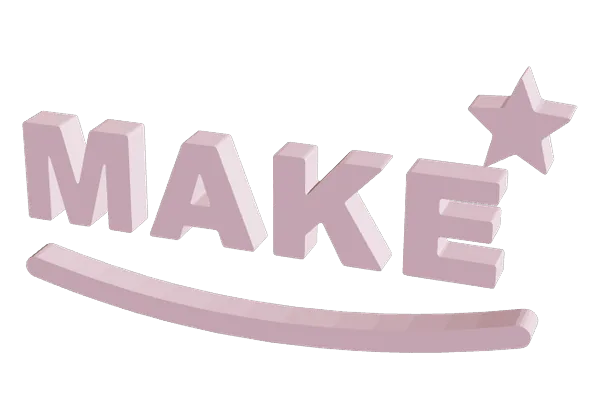
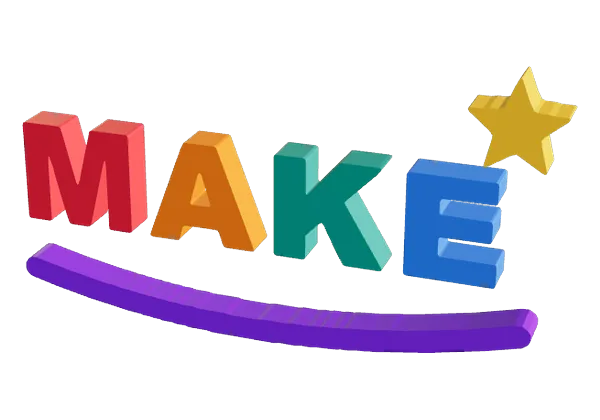
One transparent PNG, two results. Extrude traces every shape into clean walls in a single colour; Color keeps each colour as its own part, so the 3MF prints in multi-colour. No base plate is added, because the logo has no background.
How to Convert an Image to STL
Four steps from picture to print-ready file. Everything happens on your device — your images are never uploaded.
Upload an image
Drag in a PNG, JPG, WebP, GIF or BMP. High-contrast images give the sharpest relief.
Set size & height
Choose the real width in millimetres, the base thickness and the total height.
Pick a relief style
Choose Extrude, Color, AI 3D or another style, then add text, a stand or a keychain hole.
Export STL
Download the STL at real size and open it straight in your slicer.
Everything You Need for Image Reliefs
A full picture-to-STL workflow with a live 3D preview and a running print estimate, built on the same engine as our lithophane maker.
Six relief styles
Extrude and Color trace clean outlines (Color keeps every colour as its own part), AI 3D carves photos with real depth, and Logo, Layers and Smooth turn brightness into height.
Raise dark or light areas
The tool reads the background and raises the right side automatically — white swirls on black, or a black logo on white. One click switches it.
Background cut-out
Transparent PNGs are cut to the outline automatically, and any image can drop its base plate — no rectangle around your logo.
Real-size STL export
The width you set is the width you print. The STL opens in Cura, PrusaSlicer, Bambu Studio and every other slicer.
Text, frames & holes
Add raised or engraved text, a proud frame or bevelled border, a keychain hole and a stand.
Threshold & smoothing
Move the threshold to decide exactly what gets raised, and smooth away JPG noise and jagged edges. Brightness, contrast and gamma are there too.
Live 3D preview
Orbit and zoom the relief as you change settings, and switch to a heightmap view to see exactly which areas rise.
Print time & cost estimate
See an estimated print time and filament cost before you export, so there are no surprises.
Private by design
Nothing is uploaded — the conversion runs in your browser, so it works with personal photos and client logos alike.
One photo, three reliefs
rendered in this tool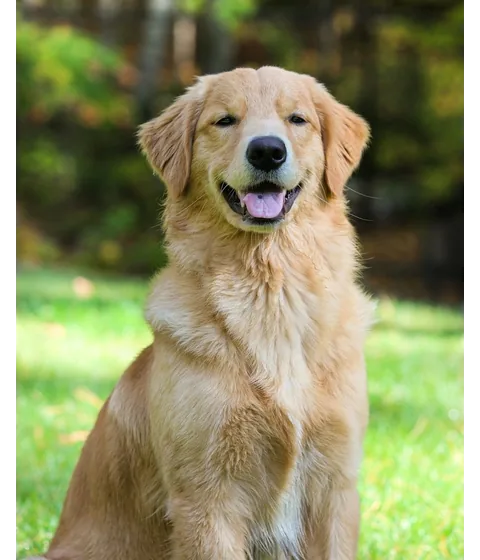
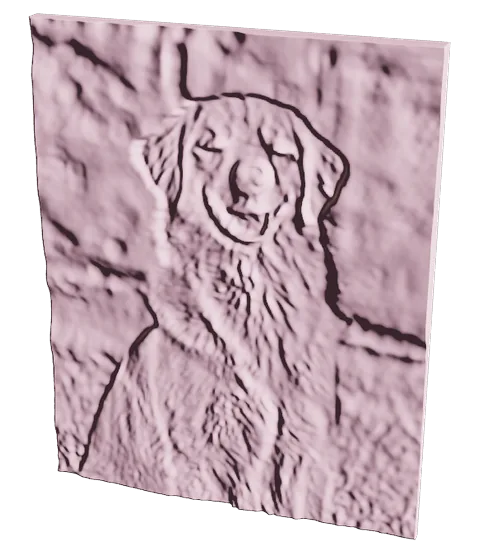
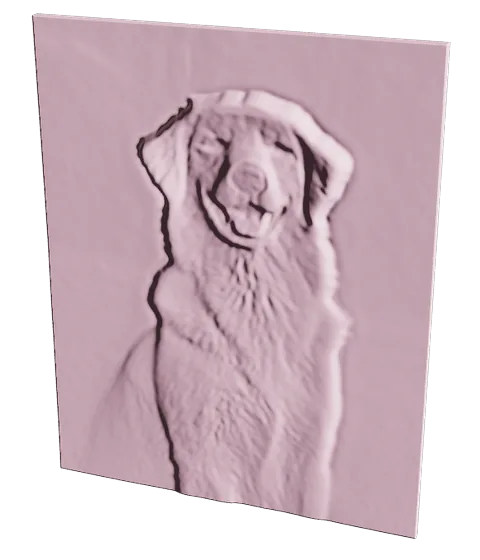
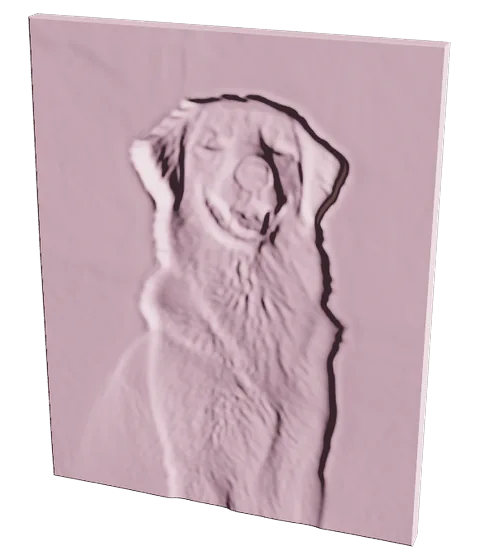
Smooth turns brightness into height, so the grass and trees become bumps too. AI 3D estimates real depth instead: the dog stands out with a rounded head and the background stays flat. Engraved carves the same shape into the plate, ready for a stamp or mould.
Getting the Best Results
A few settings make the difference between a muddy print and a crisp one.
Start with a clean, high-contrast image
Strong light–dark contrast becomes strong depth. For logos, a solid dark mark on a white or transparent background works best; remove noise and soft shadows first.
Match the resolution to the print size
Higher resolution captures finer detail but makes a bigger STL. For a 100 mm print, around 180–240 samples across is a good balance; raise it for small text.
Keep the base strong
A 1.2–2 mm base stops thin reliefs from warping or snapping. Thicker bases suit coasters and signs; thinner ones suit badges and magnets.
Print flat, face up
Lay the base on the bed with the relief facing up — no supports needed. A 0.12–0.16 mm layer height brings out fine detail on the raised areas.
What People Make with Image to STL
Once a picture becomes a 3D model, it can turn into almost anything you can print.
Signs & nameplates
Turn a business logo or house number into a wall sign or door plate.
Keychains & badges
Small logo reliefs with a hanging hole make great keychains, bag tags and pin badges.
Coasters & magnets
Add a frame to a photo or pattern for a coaster, or keep it thin for a fridge magnet.
Stamps & embossing
Mirror your design and raise it for clay, cookie or soap stamps.
Gifts from drawings
Turn a child’s drawing or a pet photo into a keepsake relief.
Cosplay & props
Emblems, crests and insignia straight from a reference image.
Want a thin panel that glows when lit from behind instead? Try the Photo Lithophane Maker. For vector logos, the SVG to 3D converter gives perfectly sharp edges.
The AI 3D style uses the Depth Anything V2 Small model (Apache-2.0) with Transformers.js and ONNX Runtime, running locally in your browser.
Image to STL FAQ
Answers to the most common questions about converting pictures into 3D-printable STL files.
What is an image to STL converter?
It turns a flat picture into a 3D model. Every pixel becomes a height: depending on the setting, dark or light areas are raised, so a logo, drawing or photo becomes a relief you can 3D print, with a solid base underneath.
Which image formats can I use?
Any image your browser can open — PNG, JPG/JPEG, WebP, GIF and BMP. PNG with a transparent background works best for logos, because the cut-out option can trim the model to the logo’s outline.
Should dark or light areas be raised?
The tool decides from the background: on a light background the dark parts rise, on a dark background the light parts rise. You can switch it any time with the Raise: Dark areas / Light areas buttons.
How thick should the base and relief be?
A base of 1.2–2 mm keeps the print stiff, and a total height of 3–5 mm gives clearly visible detail on a 100 mm wide print. Taller reliefs show more depth but take longer to print.
Is the STL printed at the size shown?
Yes. The width slider sets the real width in millimetres, and the STL is exported at that size, so your slicer opens it ready to print without scaling.
Can I make a keychain, sign or coaster from an image?
Yes. Add a hanging hole for a keychain or ornament, a frame for a sign or coaster, a stand to keep it upright, and raised or engraved text — all from the side panels.
Are my images uploaded to a server?
No. The conversion runs entirely in your browser, so your pictures never leave your device and nothing is stored online.
Can I turn a colour logo into a multi-colour 3D print?
Yes. Choose the Color style: the tool finds the main colours of your logo and extrudes each one as its own part with clean, smooth walls. Download the 3MF file and every colour arrives as a separate part in Bambu Studio, PrusaSlicer or OrcaSlicer, ready to assign to a filament (AMS / MMU). For a single-colour logo, the Extrude style traces the outlines into crisp shapes instead of pixel steps.
How does the AI 3D style work?
For photos of pets, people and objects, an AI model estimates how far each part of the picture is from the camera, so heads, noses and ears get real rounded depth instead of a flat brightness map. The tool then flattens the background and adds the fine detail from the photo on top. The AI runs on your own device: the first time, your browser downloads the model once (about 50 MB), and your photo is never uploaded.
How is this different from the lithophane maker?
A lithophane is a thin photo panel that only shows its picture when lit from behind. Image to STL makes a solid relief that is seen from the front: Logo mode gives crisp flat-topped shapes, Layers mode gives stepped terraces and Smooth mode gives a sculpted look, all on a strong base for signs, badges and stamps.
Related Tools
More free browser-based 3D tools from Vextrude — turn vectors, text and links into printable STL models.