Vextrude

नॉर्मल मैप ऑनलाइन

मुफ़्त नॉर्मल मैप जनरेटर — आपके ब्राउज़र में हाइट मैप से PBR

Convert any height map, diffuse or bump texture into tangent-space normal, displacement, AO and specular PBR maps. 100% in-browser — no uploads, works offline.

No uploads, browser only Normal · Displacement · AO · Specular PNG · JPG · TIFF export

Click to upload, or drag and drop an image

Supports PNG, JPG, WEBP. Recommended grayscale height maps.

ताकत 2.0
AO ताकत 0.85
धुंधला 0
स्पेक्युलर ताकत 6.0
3D Tiling
मैप प्रकार:
फ़ाइल प्रारूप:
Selected: Normal · PNG Waiting for image

पूर्वावलोकन

Compare height, normal map, and shaded result.

0 × 0 px

नॉर्मल मैप

Normal map preview

स्रोत

Source image

डिस्प्लेसमेंट

Displacement map

AO

Ambient map

स्पेक्युलर

Specular map

3D Preview

घुमाने के लिए खींचें
3D preview will appear here

यह कैसे काम करता है

The tool reads your image as a height field, computes gradients using a Sobel-like filter, and encodes the resulting surface normals into RGB (X→R, Y→G, Z→B) in tangent space.

Use the strength slider to exaggerate or soften details, blur to smooth noisy source images, and invert axes to match engines like Unity, Unreal, or Blender.

मुफ़्त ऑनलाइन नॉर्मल मैप जनरेटर

Turn any height or diffuse texture into game-ready normal, displacement, ambient occlusion and specular maps, directly in your browser.

100% Local

Images never leave your device. All processing happens in your browser for maximum privacy and speed.

एकाधिक मैप

Generate normal, displacement, ambient occlusion and specular maps from a single source texture.

इंजन रेडी

Presets for OpenGL/Unity and DirectX/Unreal Engine. Exported maps work directly in Blender, Godot, Maya and 3ds Max. Live 3D preview to check lighting and tiling.

नॉर्मल मैप जनरेटर का उपयोग कैसे करें

  1. टेक्सचर अपलोड करें: Drag and drop a height or diffuse image into the drop zone.
  2. विवरण समायोजित करें: Use the strength and blur sliders to control how sharp or soft the surface appears.
  3. प्रकाश ठीक करें: Tweak AO and specular sliders, or invert axes and switch engine presets to match your target renderer.
  4. पूर्वावलोकन जांचें: Compare height, generated maps and the shaded 3D preview to validate the result.
  5. मैप निर्यात करें: Download the selected map or all maps at once in PNG, JPG or TIFF format.

नॉर्मल मैप क्या है?

A normal map (also called a bump map) stores per-pixel surface directions in RGB channels, letting flat meshes react to light as if they had detailed geometry. When you convert a height map to a normal map, each pixel brightness becomes a surface angle — keeping models lightweight while preserving the illusion of depth and relief.

Game engines like Unity, Unreal Engine and DCC tools such as Blender use tangent-space normal maps extensively for materials, decals and tiling textures. Matching the correct Y-axis convention is critical, which is why this tool includes presets and axis inversion options.

For a deeper walkthrough, including engine presets, 3D preview tips and export best practices, read the full tutorial अपने ब्राउज़र में गेम-रेडी नॉर्मल मैप बनाएं.

अक्सर पूछे जाने वाले सवाल

क्या नॉर्मल मैप जनरेटर वाकई मुफ़्त है?

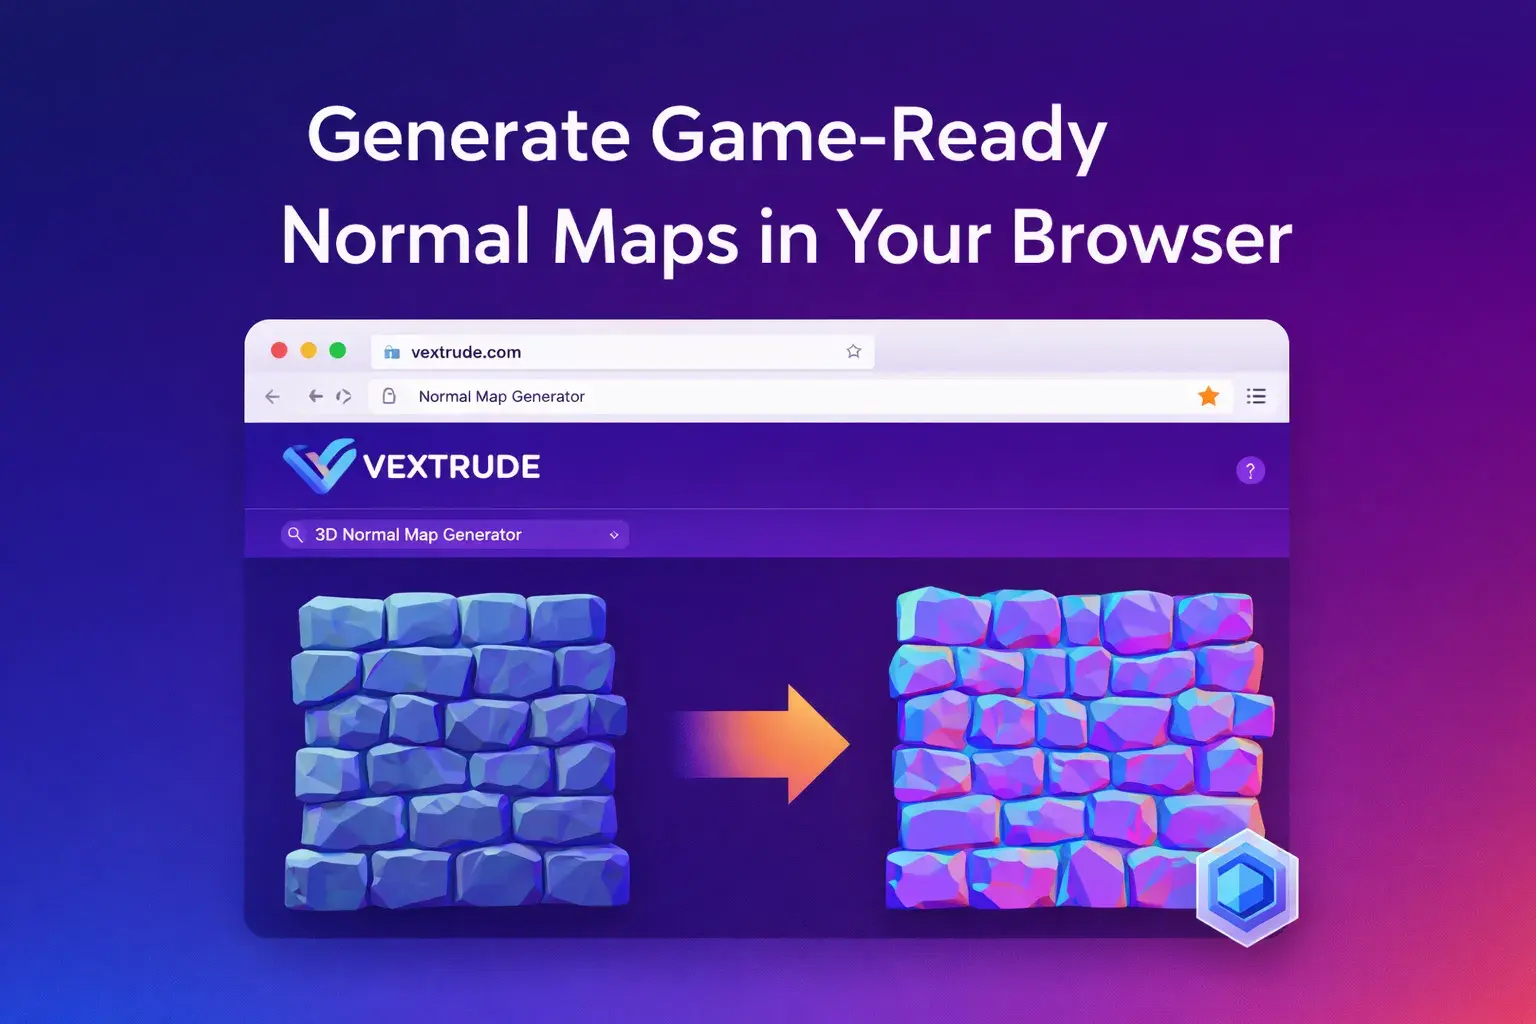
Yes. You can use the Vextrude Normal Map Generator for both personal and commercial projects with no account, watermark, or hidden limits.

क्या मेरी छवियां मेरे डिवाइस से बाहर जाती हैं?

No. All processing runs entirely in your browser using WebGL. Textures are never uploaded to a remote server, which keeps your assets private.

किसी टेक्सचर से कौन से मैप निर्यात कर सकता हूं?

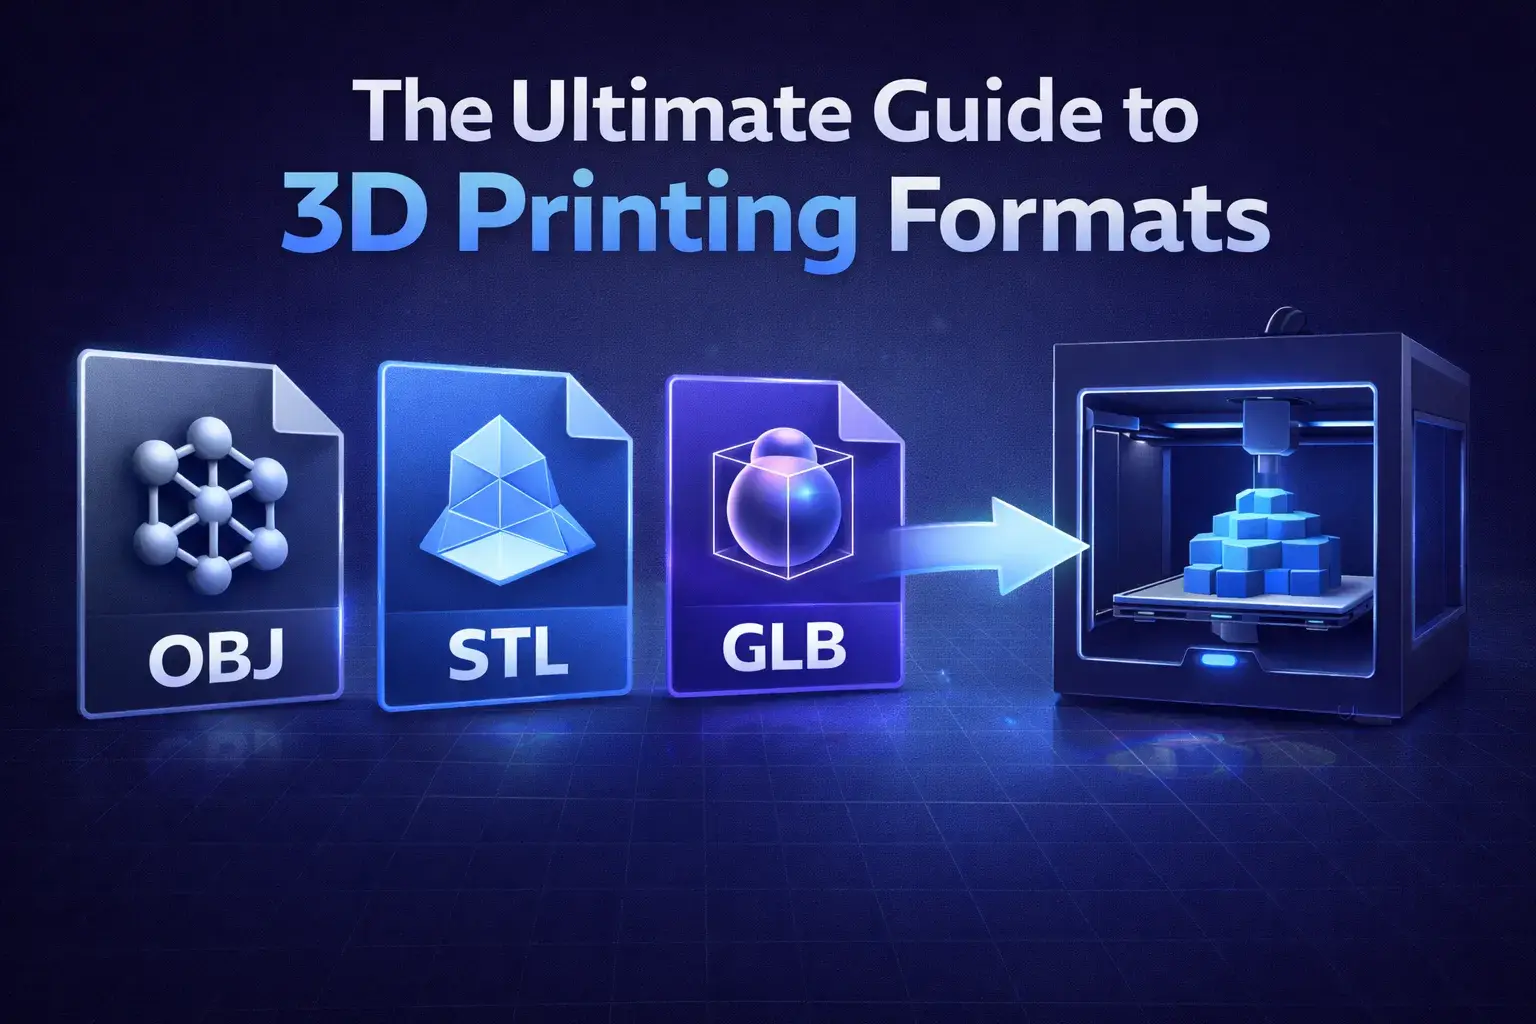
From a single height or diffuse image you can generate tangent-space normal maps, displacement maps, ambient occlusion maps, and specular maps, then download them as PNG, JPG, or TIFF.

क्या मैं इसे हाइट मैप से नॉर्मल मैप कनवर्टर के रूप में उपयोग कर सकता हूं?

Yes. Upload a grayscale height map and the tool computes surface normals using a Sobel-based gradient filter. The brighter a pixel, the higher the surface — producing accurate tangent-space normals directly from your height data.

OpenGL और DirectX नॉर्मल मैप में क्या अंतर है?

The only difference is the direction of the green (Y) channel. OpenGL normal maps point Y upward and are used by Unity and Blender. DirectX normal maps invert the Y channel and are the default in Unreal Engine. Use the engine preset buttons to switch instantly, or toggle the Y-invert option manually.

Unity, Unreal Engine और Blender में नॉर्मल मैप कैसे उपयोग करें?

In Unity, import the PNG and set the texture type to “Normal Map” in the inspector, then connect it to the Normal Map slot of a Standard or URP Lit material. In Unreal Engine 5, plug the DirectX-format PNG into the Normal pin of a Material. In Blender, add an Image Texture node set to “Non-Color” and connect it to the Normal Map node, then into the BSDF’s Normal input.

अधिकतम टेक्सचर आकार क्या है?

The tool processes images up to 4096×4096 px. Larger images are scaled down automatically to stay within browser memory limits. For most game and PBR workflows, 1024×1024 or 2048×2048 is optimal.

क्या यह मोबाइल पर काम करता है?

Yes. The tool runs on any modern browser, including mobile Safari and Chrome for Android. For best performance with large textures (2048×2048 and above), a desktop browser is recommended.

नॉर्मल मैप, बंप मैप और डिस्प्लेसमेंट मैप में क्या अंतर है?

A bump map is an older grayscale technique that fakes depth by perturbing surface normals at shading time. A normal map stores the same information in full RGB, giving more accurate lighting at the same performance cost — making it the modern standard. A displacement map actually moves geometry vertices, producing true silhouette detail but requiring more polygons or tessellation.

क्या मैं पूरा PBR टेक्सचर सेट बना सकता हूं?

In a single export you get four PBR maps: normal, displacement, ambient occlusion (AO) and specular. Together these cover the core slots of a Metallic/Roughness or Specular/Gloss PBR workflow in Unity, Unreal Engine, Blender, Godot and most other real-time renderers.