Normal maps let you fake complex geometry with a simple texture. Instead of modeling every brick or scratch, you store surface direction in RGB and let the lighting do the rest.
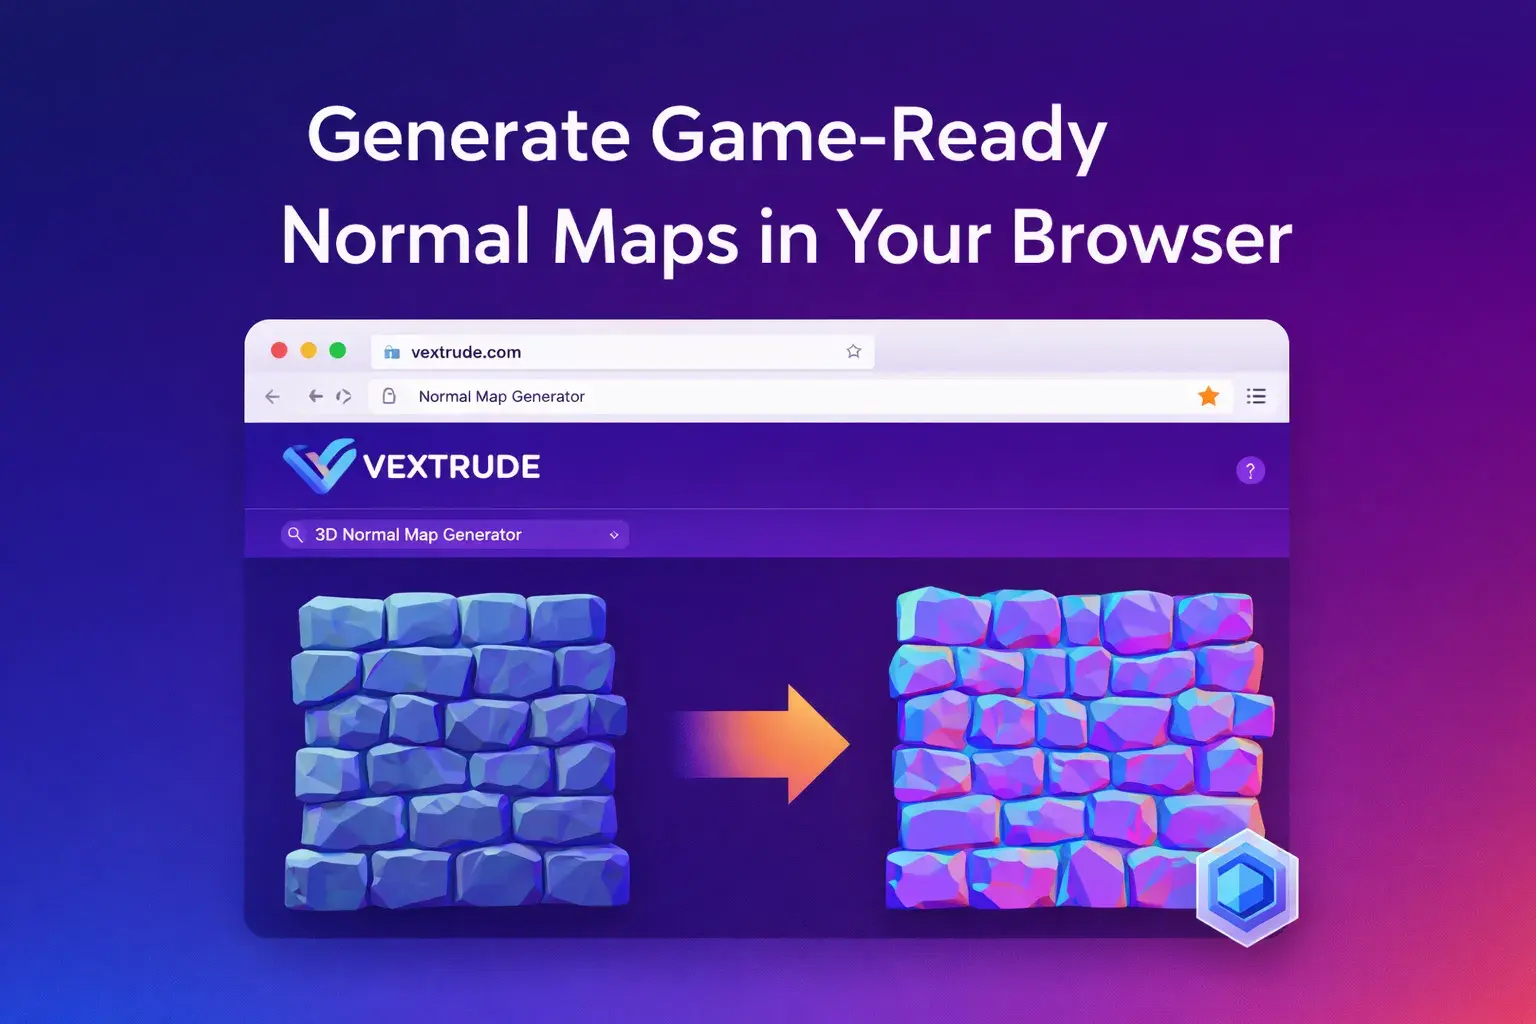
The Vextrude Normal Map Generator takes this a step further by deriving multiple maps from the same source image: normal, displacement, ambient occlusion and specular. Everything runs on the GPU-friendly canvas stack in your browser, so your textures never leave your machine.
Step 1: Prepare a clean height or diffuse texture
Head over to the Vextrude Normal Map Generator. In the hero section, use the upload area to drop a grayscale height map or a diffuse/albedo texture.
- Prefer images with clear contrast for height differences.
- Large textures are automatically downscaled to keep performance smooth (up to 4096 px).
- The source preview shows exactly what data is being used to compute normals.
Step 2: Control detail with Strength and Blur
Once the image loads, the tool computes gradients using a Sobel-like filter. Two sliders drive the feel of the surface:
- Strength: exaggerates or softens the slopes. Higher values make edges crisper but can introduce noise.
- Blur: applies a box blur to the height data before computing normals, perfect for noisy scans or photos.
As you adjust these sliders, the main normal map, shaded preview and derived maps update instantly. This feedback loop makes it easy to find the sweet spot between flat and over-crunched.
Step 3: Match your engine with presets and 3D preview
Different engines disagree on which direction positive Y points in tangent space. To avoid unexpected inverted lighting, the tool includes presets:
- OpenGL / Unity (+Y): standard green channel convention used by Unity, Blender and many DCC tools.
- DirectX / Unreal (−Y): flips the green channel so maps look correct in Unreal and DirectX-based engines.
You can also invert X or Y manually if you are working with a custom renderer. The live 3D preview (plane, sphere, cube or cylinder) lets you drag to orbit and see how tiling and light direction interact with your material.
Step 4: Export normal, displacement, AO and specular maps
When you are happy with the result, scroll down to the download area. Here you can choose which map to export and in which format: PNG, JPG or TIFF.
- Download selected map: exports just the currently selected map type.
- Download all maps: batches normal, displacement, AO and specular into separate files with consistent naming.
For production, PNG or TIFF preserve the most detail. JPG is useful for lightweight previews or web materials where file size matters.
Best practices for better normal maps
- Start from a high-resolution source texture, then downscale on export if needed.
- Use blur to tame high-frequency noise before increasing strength.
- Always verify the result in the 3D preview with a grazing light angle.
- Keep a consistent naming convention (e.g.,
brick_normal,brick_ao) across your materials.
With this workflow, you can author game-ready surface detail in seconds, without installing heavyweight desktop tools. Bookmark the Vextrude Normal Map Generator and use it as your go-to utility whenever you need to add depth and realism to flat textures.