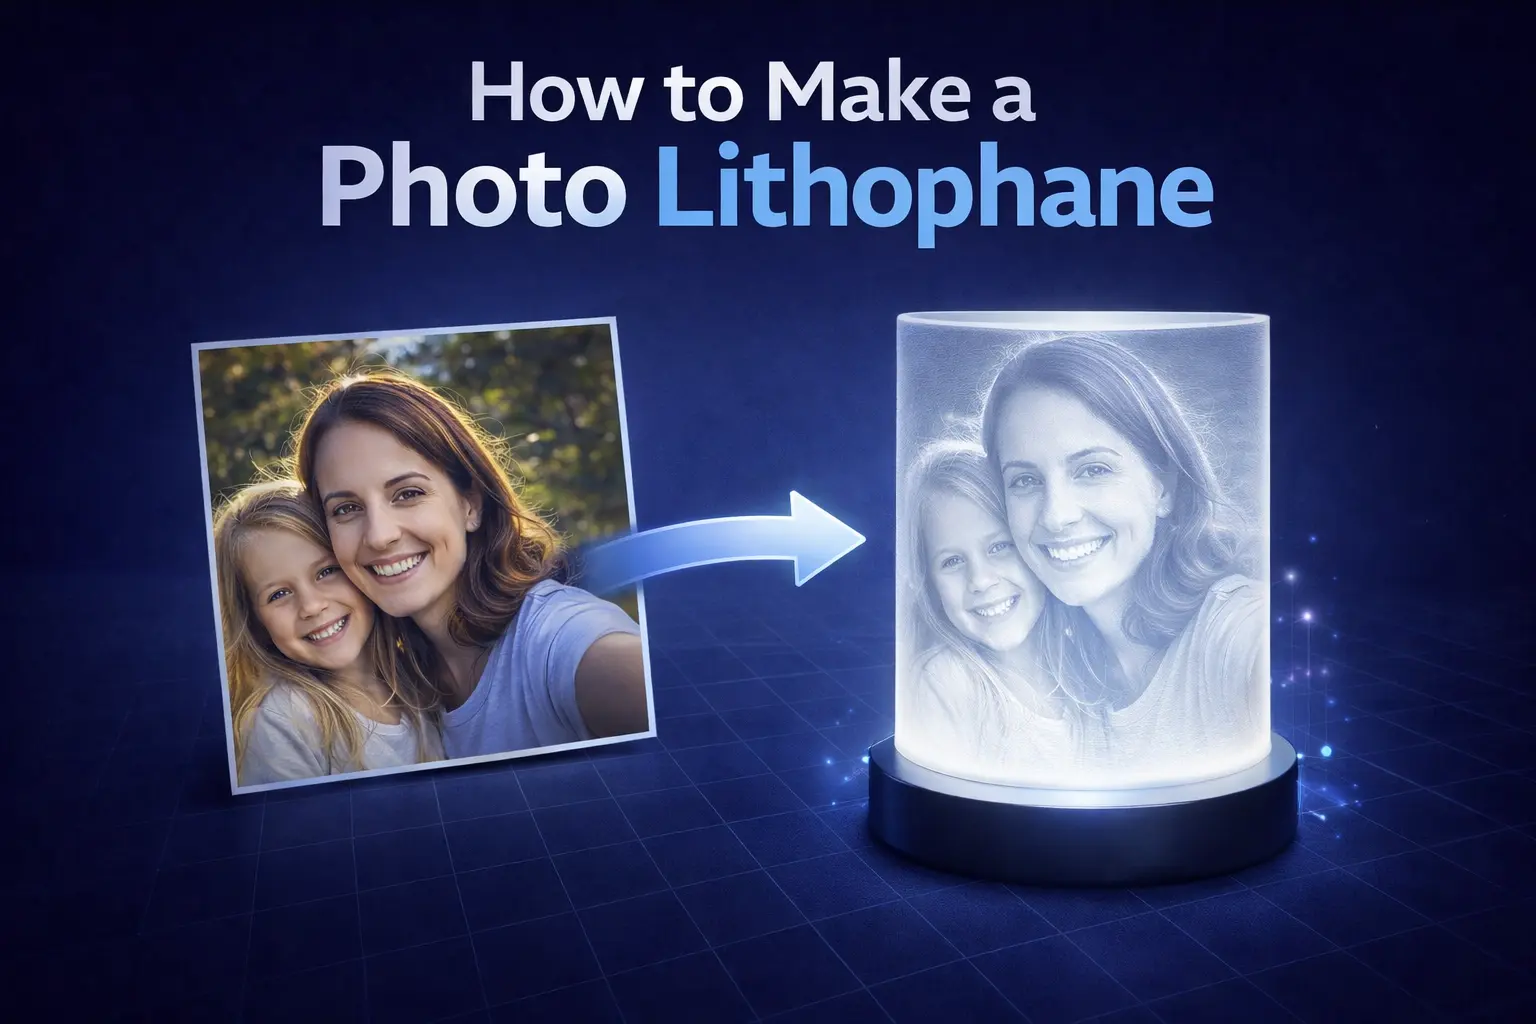
A lithophane is a piece of 3D-printed magic. When it sits on your shelf in daylight it looks like a featureless white panel — but hold it up to a lamp or window and a detailed photograph appears, drawn in light shining through different thicknesses of plastic.
The technique is over 200 years old (originally carved into porcelain), and it translates beautifully into FDM 3D printing. This guide walks through the entire workflow, from picking a photo to pulling a finished print off the bed. Open the free Vextrude Lithophane Maker in another tab and follow along.
1. What exactly is a lithophane?
A lithophane is a thin 3D-printed panel where image brightness is mapped to material thickness. Bright pixels become thin regions of the model, letting more light through. Dark pixels become thick regions that block light. Hold it in front of a white light source and your eyes reconstruct a grayscale photograph.
That's it — no paint, no electronics, no post-processing. Just one single-color print.
2. Choosing the right photo
Photo choice is where 80% of lithophane quality is decided. Before you open any software, pick an image that matches these four rules:
- High contrast. Lithophanes are grayscale projections of light, so images with a clear subject and well-separated tones read best. Flat, evenly-lit photos tend to look muddy.
- A clean, dark background. The background of the photo becomes the thickest part of the print. A simple dark background isolates your subject and dramatically improves readability.
- Large subject in frame. Faces should fill most of the frame. If you crop too wide, the features end up tiny and the lithophane loses detail.
- Sharp focus. Any blur in the source shows up in the print. A 2–4 MP in-focus photo beats a 20 MP soft one.
💡 Pro tip: crop first, upload second
Crop your photo to the aspect ratio you plan to print (usually square or slightly portrait) before uploading. The maker will scale whatever you give it — giving it an already-composed image means it spends all its resolution on the part you actually care about.
3. Picking a shape
Vextrude's Lithophane Maker offers six base shapes. Each has strengths:
- Flat panel. The classic. Prints quickly, stands in a simple holder, easy to frame. Best first project.
- Curved (outer). A gently curved rectangle. Looks more sculptural than flat, reads well from a wider viewing angle.
- Sphere. Wraps the image around a ball — typically used as a lamp shell with an LED tealight inside. Feels three-dimensional from every angle.
- Dome / hemisphere. Half sphere that sits over a light. Less material than a full sphere, but still 360° when viewed from above.
- Heart. A shaped panel — great for couples, anniversaries, memorial gifts. The subject fills the center.
- Wave / curved panel. An S-curve shape that catches light from multiple angles and feels modern on a shelf.
As a rule of thumb: start flat to learn, move to curved or heart for gifts, and print a sphere or dome once you have a reliable light source (LED puck, USB tealight) to pair with it.
4. Resolution, thickness, and size
These three numbers control how much detail the print preserves and how dark the shadows get.
Physical size
A lithophane that's too small can't show faces; one that's too large wastes filament and takes forever to print. Good starting sizes:
- Portraits: 100×150 mm (roughly 4×6 in)
- Keychain / small gifts: 50×75 mm
- Lamp shells (sphere/dome): 80–100 mm diameter
Thickness range
Every lithophane has a minimum thickness (brightest pixels) and a maximum thickness (darkest pixels). Typical values:
- Minimum: 0.6–0.8 mm — thin enough to transmit light, thick enough to be structurally sound.
- Maximum: 3.0–3.5 mm — dark enough to block almost all light, without wasting filament.
If your print looks washed out, decrease the minimum thickness. If the bright areas look overexposed, increase it.
Resolution
Vextrude's maker lets you choose a resolution — effectively how many voxels the image gets sampled into. Higher resolution gives more detail but increases file size and slicing time. Medium (around 400–600 pixels on the long edge) is the sweet spot for most photos.
5. Slicer & print settings
Once you export an STL from the maker, open it in Cura, PrusaSlicer, Bambu Studio, or OrcaSlicer. Use these baseline settings:
Recommended slicer settings
- Material: White PLA. White transmits light most evenly. PLA is cheap, rigid, and has no texture that might distort the image.
- Nozzle: 0.4 mm (standard) or 0.2 mm for extra fine detail.
- Layer height: 0.08–0.12 mm. Thinner = more tonal smoothness. Do not exceed 0.16 mm.
- Infill: 100%. A lithophane is its infill — partial infill will show through as visible lines.
- Walls / perimeters: set a high wall count (e.g. 99) or use "concentric" / "ironing" on the thin side. Many people print lithophanes as pure perimeters — no "infill" pattern at all.
- Print speed: 40–50 mm/s. Slower prints are smoother; speed shows up as surface ripple on backlit prints.
- Orientation: print vertically (image facing the printer's front). Flat-printed lithophanes pick up bed texture on the back and have lower layer-to-layer detail.
- Supports: usually none for flat / curved / heart. Add a small brim if the vertical part is tall.
- Cooling: 100% part cooling fan from layer 2.
One quirk: Bambu Studio and OrcaSlicer have a dedicated "lithophane" preset that auto-enables vertical orientation and concentric perimeters. If you use either slicer, start there.
6. Troubleshooting common problems
The image looks washed out
The bright areas are too thick. Lower the minimum thickness (try 0.6 mm) or choose a photo with darker midtones.
The image looks overexposed / featureless
The minimum thickness is too thin and details are losing structure. Bump minimum back up to 0.8 mm.
Horizontal banding or "zebra stripes"
Inconsistent extrusion at low layer heights. Try: slower speed (30 mm/s), clean extruder gear, increase temperature by 5°C, or switch to a spool that's fully dry.
Ghosting / echo of the image
Ringing from fast movements. Slow down outer walls to 25 mm/s and enable input shaping if your printer supports it.
Colors look wrong under my lamp
Warm LEDs shift tones. For evaluating a lithophane, use a daylight-balanced bulb (4000–5000 K) or a window.
Print warps off the bed
Because lithophanes are vertical and tall, they have a small base. Use a brim (5–8 mm), clean the bed, and keep the enclosure closed.
7. Where to print if you don't own a printer
You don't need a 3D printer to enjoy lithophanes. Export the STL from the Vextrude maker and upload it to a service:
- Craftcloud / JLCPCB / PCBWay — cheap global FDM printing, typically a few dollars for a small lithophane.
- Local maker spaces and libraries — many have FDM printers available for a per-gram fee.
- Etsy "lithophane" sellers — drop the STL into a custom listing. You pay for labor but get a finished gift shipped ready.
When you upload, specify white PLA, 100% infill, 0.08 mm layer height, vertical orientation. Default settings from a generic print service will almost always look worse than these instructions produce.
8. Gift ideas & project inspiration
- Nightlight. Drop a USB LED tealight inside a sphere or dome lithophane of a loved one's face.
- Wedding table cards. Heart-shaped lithophane of each couple's photo, standing on the table.
- Anniversary frame. Flat lithophane of a wedding photo, slotted into a simple picture frame with an LED strip behind it.
- Pet memorial. Curved lithophane, backlit — a low-key, personal way to remember a pet.
- Holiday ornaments. Small wave or curved lithophanes of family photos, one per year, hung on a tree.
- Gift packaging. A tiny keychain lithophane tied to a gift looks unbelievably thoughtful for a ten-minute print.
Ready to try it?
The Vextrude Lithophane Maker runs entirely in your browser — no signup, no upload to a server, no cost. Pick a photo, choose a shape, adjust thickness, and export an STL in under a minute. If you want to pair it with a logo or custom text on the back, head over to the SVG to STL tool next.