You upload an SVG, and... chaos. Triangles flying everywhere, holes where they shouldn't be, or just a blank screen. Don't worry, your converter isn't broken. Your SVG just needs a little hygiene.
3D extrusion algorithms are mathematically strict. While a browser can render a messy SVG just fine, a 3D engine needs "watertight" logic.
1. The "Stroke" Problem
The most common issue is trying to extrude a line (stroke) instead of a shape (fill).
The Fix: Convert strokes to paths.
- Adobe Illustrator: Select object >
Object>Path>Outline Stroke. - Inkscape: Select object >
Path>Stroke to Path(Ctrl+Alt+C).
This turns a thin line into a filled rectangle shape that can be extruded.
2. Unclosed Paths
Imagine trying to inflate a balloon that has a hole in it. That's what happens when you try to extrude an unclosed path.
If your shape looks closed but the start and end nodes aren't actually connected, the triangulation algorithm will fail.
The Fix: Use the "Join" command in your vector software to ensure every shape is a complete loop.
3. Self-Intersecting Geometry
If a path crosses over itself like a figure-8, 3D engines get confused about which part is "inside" and which is "outside".
The Fix: Use "Boolean Operations" to merge or cut shapes.
- Illustrator: Window > Pathfinder >
Unite. - Inkscape: Path >
Union(Ctrl++).
Recommended Free Tools
You don't need expensive software to fix SVGs.
Advanced SVG Issues
The three core problems cover most failures, but a handful of less obvious issues can still produce broken extrusions. Here is what else to check when the standard fixes do not work.
Compound paths with wrong winding order
Letters like “O”, “B”, and “P” have inner holes called counters. For the hole to render correctly in 3D, the inner path must wind in the opposite direction from the outer path. Most vector editors handle this automatically when you use Path > Difference (subtract) to punch the hole. If your extruded “O” appears as a solid disc instead of a ring, the inner path winding is reversed. In Inkscape, fix it by selecting only the inner path and choosing Path > Reverse. In Illustrator, use Object > Path > Reverse Path Direction.
Stray anchor points and micro-paths
Complex logos exported from design tools often contain invisible stray anchor points or micro-paths that measure less than 1 pixel. These are harmless to the eye but cause triangulation failures in 3D engines. Before uploading, use Edit > Find in Inkscape to locate objects below a minimum size threshold, then delete anything that is not part of the intended design. In Illustrator, Select > Same > Fill Color helps identify unintended duplicate shapes sharing your brand color.
Too many anchor points from auto-trace
SVGs created from auto-tracing a raster image (a photo of a logo, for example) can contain thousands of anchor points per path. More anchor points means exponentially more triangles in the resulting 3D mesh, which can crash lower-end browsers or produce a file too large to be practical. Apply the Simplify Path command before uploading: Path > Simplify in Inkscape (adjust the threshold until the shape looks identical at normal zoom), or Object > Path > Simplify in Illustrator. Reducing anchor points by 60–70% typically has no visible effect on the 3D output while dramatically improving performance.
Unflattened nested transforms
SVGs exported from some design tools use nested <g transform="..."> groups to position elements. The 3D extrusion engine may misinterpret these transforms, causing the model to appear at the wrong position or scale. The fix in Inkscape is to select all and use Edit > XML Editor to confirm no unflattened transforms remain, then apply them via Object > Transform. In Figma, use the “Flatten” command (Ctrl+E) before exporting SVG to collapse all layers into direct coordinates.
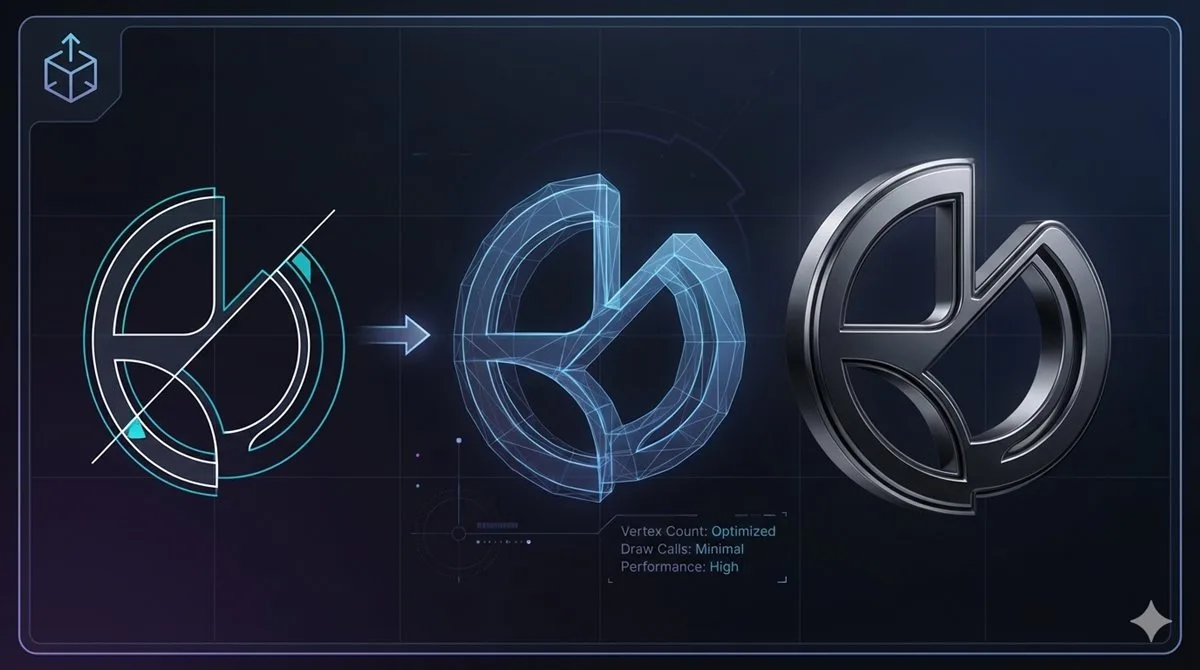
Performance and File Size Optimization
A clean SVG that extrudes without errors is only half the battle. The resulting 3D model also needs to perform smoothly in the browser and stay at a manageable size for fast downloads. Here is how to optimize both.
Reduce Curve Segments for web exports
The Curve Segments setting in Vextrude controls how many straight line segments approximate each curve in your SVG. Higher values produce smoother circles and arcs but generate far more triangles. A logo that looks smooth at Curve Segments = 32 will look virtually identical at Curve Segments = 8 on a standard display, but the mesh will have four times fewer polygons. For models that will be viewed on screen, start at 6–10 and increase only if curves appear visibly faceted at your intended display size.
Remove metadata with SVGOMG before uploading
SVGs exported from Illustrator, Figma, or Sketch are routinely bloated with editor metadata, comments, unused defs, invisible clipping paths, and embedded raster thumbnails. SVGOMG (jakearchibald.github.io/svgomg) strips all of this automatically, often reducing file size by 50–80% with no change to the visible path data. Smaller input SVGs also parse faster in the extrusion engine, meaning your 3D model appears in the browser sooner after the file is loaded.
Merge paths into a single compound path
If your logo consists of 40 separate filled shapes that together form one connected design, the extrusion engine must triangulate each path independently then merge the results. Combining all paths into a single compound path first means one triangulation pass for the whole shape, which typically produces a cleaner mesh with fewer artifacts. In Inkscape: select all paths and use Path > Combine (Ctrl+K). In Illustrator: Object > Compound Path > Make (Ctrl+8).
Frequently Asked Questions
The bottom face of my extrusion has holes. Why?
Holes in the top or bottom cap usually mean an unclosed path or an incorrect compound path structure. Zoom all the way in to your start and end nodes in your vector editor and confirm they share the exact same coordinate. If the path appears closed but still fails, try Path > Break Apart followed by Path > Combine in Inkscape to rebuild the compound path from scratch with the correct winding order.
Can I upload SVGs exported directly from Figma?
Yes. Figma SVG exports are generally clean and work well with Vextrude. The most common issue is that Figma uses clip-path attributes to implement masks, which do not translate to 3D geometry boundaries correctly. If your Figma export produces unexpected shapes or missing regions, flatten all masks before exporting: select each masked group and press Ctrl+E (Flatten) to convert the clip mask into an actual path outline.
What SVG elements does Vextrude support for extrusion?
Vextrude supports filled <path> elements and basic shapes including <rect>, <circle>, <ellipse>, and <polygon>. It does not attempt to extrude raster image embeds, SVG filters, or gradient fills as geometry. For best results, ensure all elements in your file are converted to filled paths before uploading.
My logo extrudes inside-out — the faces point inward. How do I fix it?
An inside-out extrusion means the surface normals point inward. This is caused by a path winding clockwise when the engine expects counter-clockwise, or vice versa. In Inkscape, select the path and use Path > Reverse. In Illustrator, use Object > Path > Reverse Path Direction. If reversing one path does not fix it, try flipping the entire SVG vertically (some exporters mirror the Y axis), which can swap all winding directions at once.